The Web Developer Toolbar contains two measuring tools on the Miscellaneous menu: Display Line Guides and Display Ruler. These tools can be handy for measuring anything you see in your browser; images, line heights, column widths, margins ...you name it!
Display Line Guides
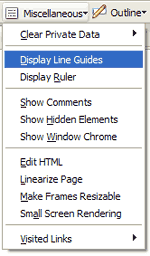
If you've ever used an image editing program like Photoshop, you've probably used line guides to make sure that various objects in a document are aligned with each other. The Web Developer toolbar offers a similar feature accessed by clicking Miscellaneous | Display Line Guides.
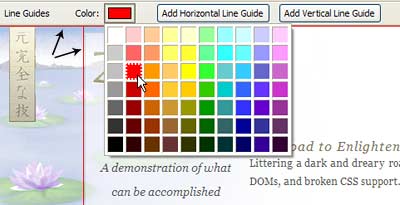
A new "Line Guides" toolbar appears at the top of the browser's viewport and both a horizontal and a vertical line appear on the screen. The toolbar contains a color picker with which to change the line color, plus buttons for adding subsequent horizontal or vertical line guides.
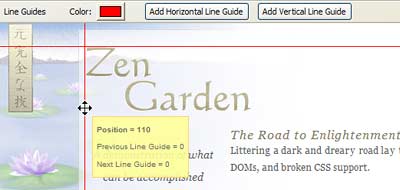
To move the line guides, point the tip of the mouse at either the horizontal or vertical line. When it turns into a four-directional arrow, click and drag the line to the desired screen position. A handy popup position indicator displays the current coordinates relative to the top left corner of the viewport. When the mouse button is released the line guide retains its position.
The Display Line Guides tool is toggled on/off by selecting it from the Miscellaneous menu.
Display Ruler
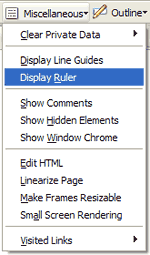
Display Ruler is one of my top five favorite features of the Web Developer Toolbar! Once I began using this tool I couldn't imagine how I ever got along without it. To turn this feature on choose Miscellaneous | Display Ruler.
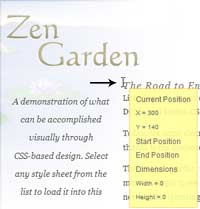
The mouse pointer turns into an I-beam. (Some versions of Display Ruler use cross-hairs.) As you move the mouse over the screen, a persistent yellow tag keeps track of the X/Y pixel coordinates. Keep in mind that the point which is being calculated is in the center of the I-beam.
Here are several ways to use the Ruler:
 Compare the coordinates of one object to the same relative coordinates of other objects. Click the mouse at position 1; for example, the top left corner of an image. Move the mouse to position 2 (the top left corner of another image) and, without clicking, read the "Current Position" coordinates. The initial coordinates are retained on the yellow tag for comparison with other "Current Position" object coordinates.
- Determine the size and position of an object. Click the mouse on one corner of an object, then drag diagonally to the opposite corner, then release the mouse. The yellow tag provides the Start and End coordinates as well as the calculated width and height of the selection.
- Check quickly to see if the size of one object is equal to the size of another object. Repeat the steps above for determining the size and position of an object. After releasing the mouse, point the mouse into the selected area. When the four-directional arrow appears, click and drag the shaded selection box and position it over another object for a quick comparison.
The Display Ruler tool is toggled on/off by selecting it from the Miscellaneous menu.
The Ruler can be very useful when working with the CSS Box Model or Absolute positioning, both of which will be addressed in the near future.